MEASURING YOUR ARTWORK
WHAT YOU WILL NEED
A metric ruler or measuring tape to measure in millimetres
Pen and paper or digital device to note down measurements
Weights to put on artwork to keep the artwork flat (optional)
HOW TO MEASURE YOUR ARTWORK
1. Place your artwork on a flat surface. If your artwork is curled, you can use weights to flatten your artwork. If doing so, ensure that you don’t put the weights directly onto the artwork and have a piece of paper or cardboard between your weights and the artwork.
2. Measure the width of your artwork by lining up the zero point of your measuring tool starting on the left edge of the artwork and extend it to the right edge. Make sure to stay along the edge of the artwork so that you keeping your measuring instrument straight.
3. Note your width down
4. Measure the height of your artwork by lining up the zero point in your measuring tool with the top edge and extend it all the way to the bottom edge. Again, stay along the edges to ensure you are keeping your measuring tool straight.
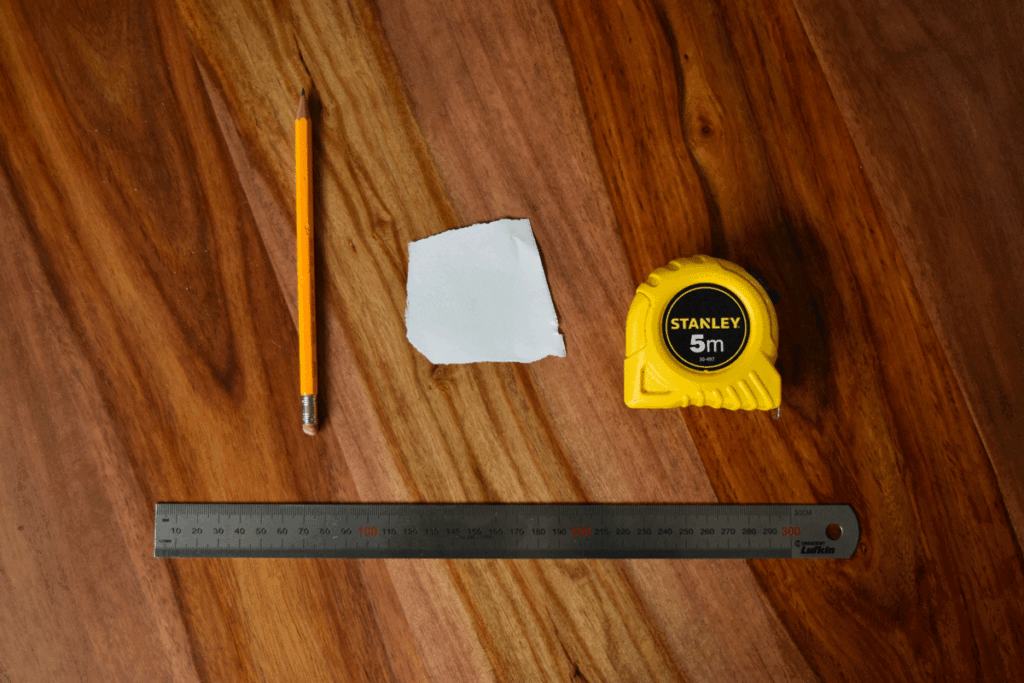
5. Note your height down.Â
Â
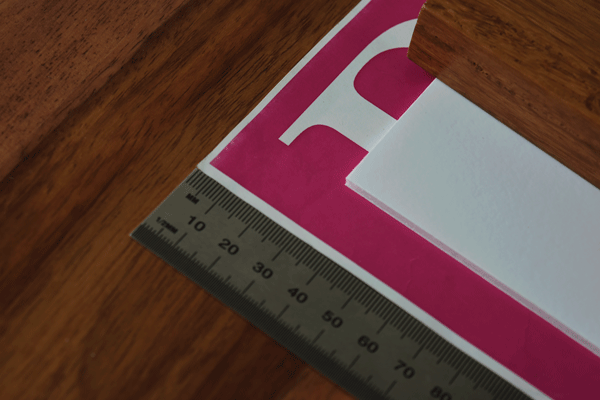
Note: If your artwork contains a border, consider whether you want to display it or not. Bear in mind that if you are using a matboard, 3-6mm of the matboard on each side will overlap your artwork. If you are not using a matboard, the width of your frame rebate will overlap your artwork. You will need to consider a floating mount if you to want to display your artwork right to the edge.Â